<center>
# How to Set Up a CI/CD Workflow, Part 3: CI/CD Workflow For a Flask App Using GitHub Actions and AWS ECS
*Written by Cristian.
Originally published 2020-12-15 on the [Monadical blog](https://monadical.com/blog.html).*
</center>
In [Part One](https://monadical.com/posts/set-up-ci-workflow.html) and [Part Two](https://monadical.com/posts/set-up-ci-workflow-part-two.html), I explained how to send a Docker image from GitHub Actions to AWS ECR, and from there how to deploy it to AWS ECS. In this article, I'll fill in the missing steps you need to set up a complete CI/CD workflow. These jobs will help improve the quality of your application, while still keeping everything automated:
- Testing for an application in GitHub Actions
- Linting code and the Dockerfile
- Using a containerized Python application (instead of a base Nginx image)
These tests will ensure that any conditions you have put in place so that the application works as expected, are still there. Linting will help you avoid common pitfalls in style and syntax. Part Two of this series used a simple, default Nginx service. This post will look at a case with a more complex setup: you’ll learn how to adapt the workflow to different containers by using a containerized Python application.
To get started, you can use this repository as a base: https://github.com/cdvv7788/flask-to-ecs. It contains a sample hello world application written in Flask. It has a couple of utility scripts to run and build the image in the Makefile, and the required Dockerfile to create the image. Other than that, it's as basic as it gets.
## Unittests and GitHub Actions
For this repository, the unittests implementation is very simple. There’s a single test with a single assert that will always pass (since its sole purpose is to demonstrate how you would add tests to your workflow and run them using GitHub Actions).
The first thing we need to add to the workflow is a new job to run the tests:
```yaml
---
on:
release:
types: [published]
jobs:
test:
name: Run the tests
runs-on: ubuntu-latest
steps:
- uses: actions/checkout@v2
- name: Install Python 3
uses: actions/setup-python@v1
with:
python-version: 3.6
- name: Install dependencies
run: |
python -m pip install --upgrade pip
pip install -r requirements.txt
- name: Run tests
run: python app/tests.py
```
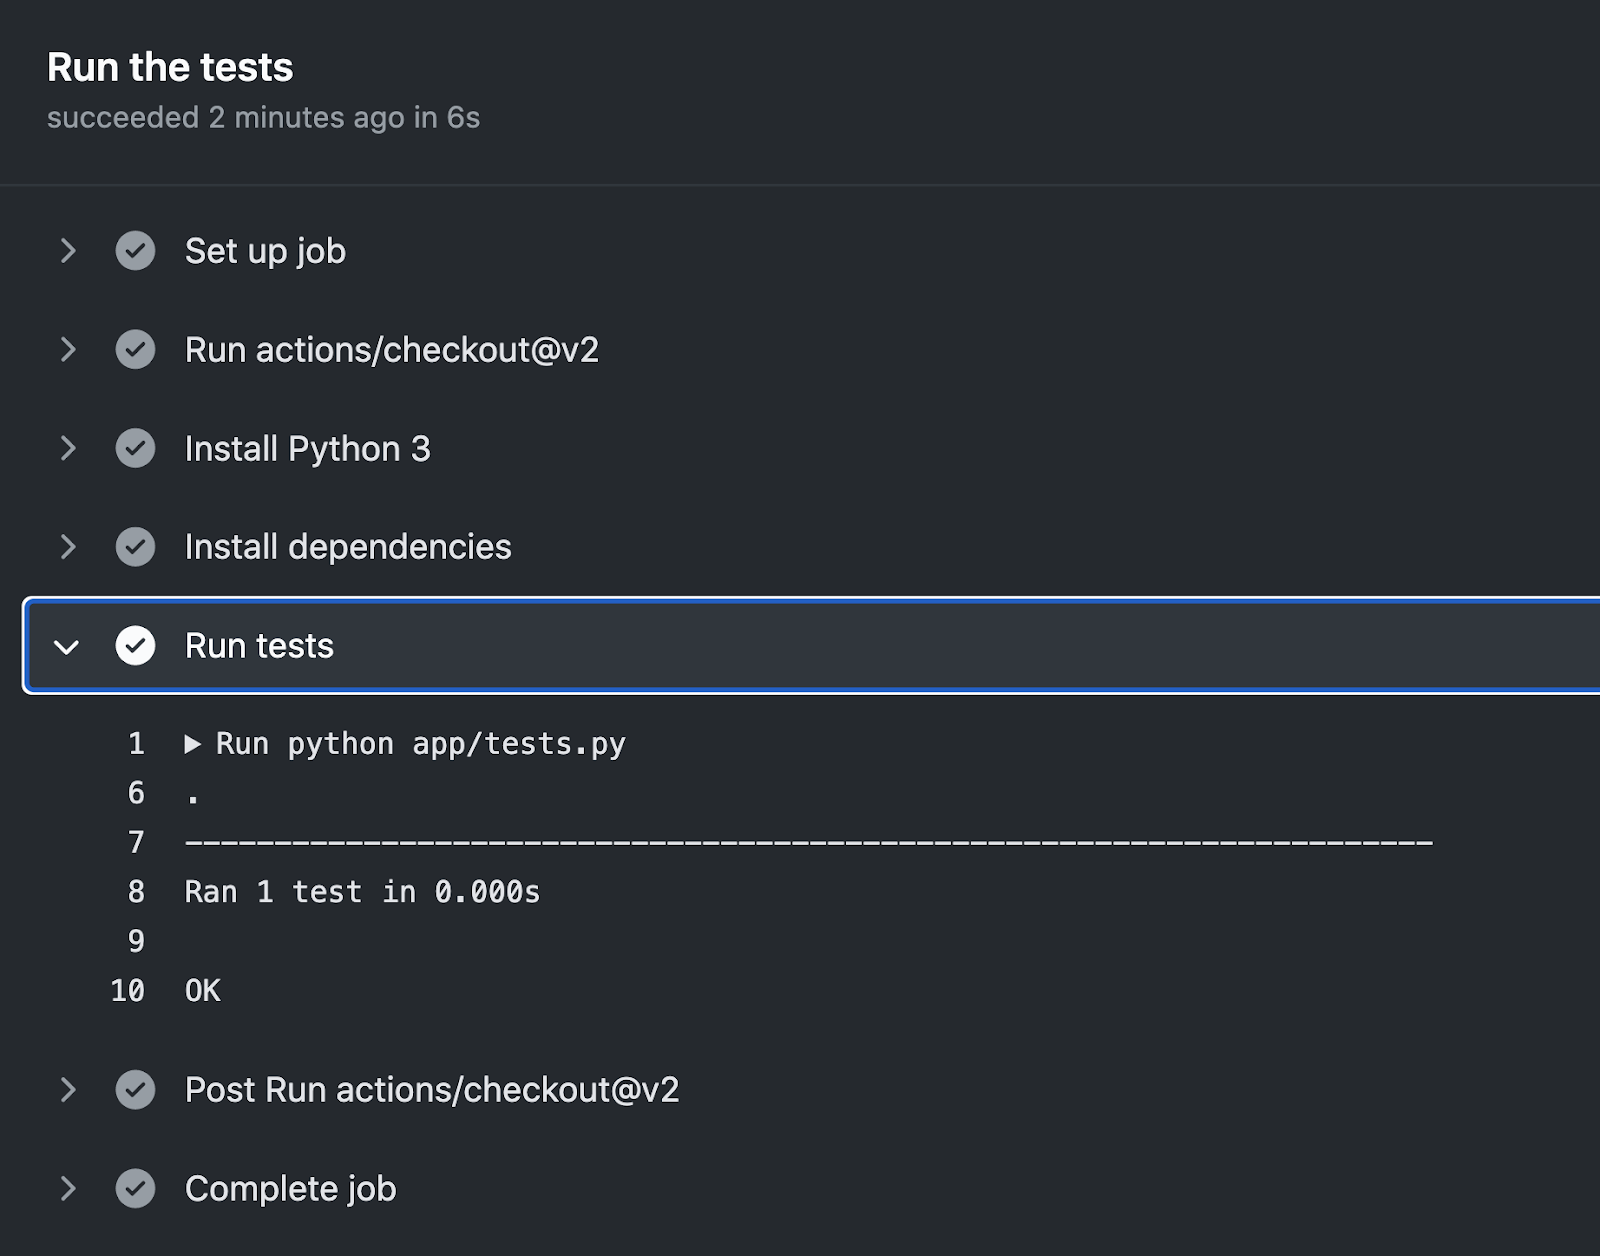
After pushing this to the repository, the tests will be run and they should pass:
## Linting of code and the Dockerfile
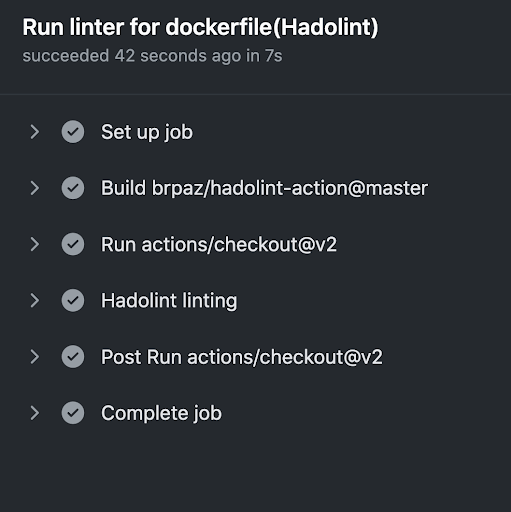
Another thing we can add to the repository is a linter for the Dockerfile. It will fail if we are doing anything strange in this file and warn us about potential issues. I’m going to use Hadolint here, but you can use your linter of preference. The job looks like this:
```yaml
lint:
name: Run linter for dockerfile (Hadolint)
runs-on: ubuntu-latest
steps:
- uses: actions/checkout@v2
- name: Hadolint linting
uses: brpaz/hadolint-action@master
```
<center>
</center>
## Build the image and send it to ECR
This is the last job you will need to do. In this case, you can follow the instructions in [Part One](https://monadical.com/posts/set-up-ci-workflow.html) to make it work as expected. Your final workflow file will look like this:
```yaml
---
name: Build a docker image and push it to AWS ECR
on:
release:
types: [published]
jobs:
test:
name: Run the tests
runs-on: ubuntu-latest
steps:
- uses: actions/checkout@v2
- name: Install Python 3
uses: actions/setup-python@v1
with:
python-version: 3.6
- name: Install dependencies
run: |
python -m pip install --upgrade pip
pip install -r requirements.txt
- name: Run tests
run: python app/tests.py
lint:
name: Run linter for dockerfile(Hadolint)
runs-on: ubuntu-latest
steps:
- uses: actions/checkout@v2
- name: Hadolint linting
uses: brpaz/hadolint-action@master
build-push:
name: Build and push
runs-on: ubuntu-latest
needs: [test, lint]
steps:
- name: Checkout
uses: actions/checkout@v2
- name: Configure AWS credentials
uses: aws-actions/configure-aws-credentials@v1
with:
aws-access-key-id: ${{ secrets.AWS_ACCESS_KEY_ID }}
aws-secret-access-key: ${{ secrets.AWS_SECRET_ACCESS_KEY }}
aws-region: us-west-2
- name: Login to Amazon ECR
id: login-ecr
uses: aws-actions/amazon-ecr-login@v1
- name: Extract tag
shell: bash
run: echo "##[set-output name=release_tag;]$(echo ${GITHUB_REF#refs/tags/})"
id: extract_tag
- name: Build, tag, and push image to amazon ECR
env:
ECR_REGISTRY: ${{ steps.login-ecr.outputs.registry }}
ECR_REPOSITORY: github-actions-flask
IMAGE_TAG: ${{ steps.extract_tag.outputs.release_tag }}
run: |
docker build -t $ECR_REGISTRY/$ECR_REPOSITORY .
docker tag $ECR_REGISTRY/$ECR_REPOSITORY $ECR_REGISTRY/$ECR_REPOSITORY:$IMAGE_TAG
docker tag $ECR_REGISTRY/$ECR_REPOSITORY $ECR_REGISTRY/$ECR_REPOSITORY:latest
docker push $ECR_REGISTRY/$ECR_REPOSITORY:$IMAGE_TAG
docker push $ECR_REGISTRY/$ECR_REPOSITORY:latest
- name: Logout of amazon ECR
if: always()
run: docker logout ${{ steps.login-ecr.outputs.registry }}
```
The biggest difference in this case compared to Part One is that now we have three jobs, and the job that uploads the image to the AWS ECR service is explicitly dependent on the `test` and `lint` jobs.
## Connect ECR to ECS and to the pipeline
Replacing the Nginx container that was used in [Part Two](https://monadical.com/posts/set-up-ci-workflow-part-two.html) is easy. You will need to pay special attention to a couple of things:
- Elastic load balancer: when you are creating the load balancer, you will be asked to create a target group. Make sure that the health checks path is correct. For this case, it needs to be `/`. 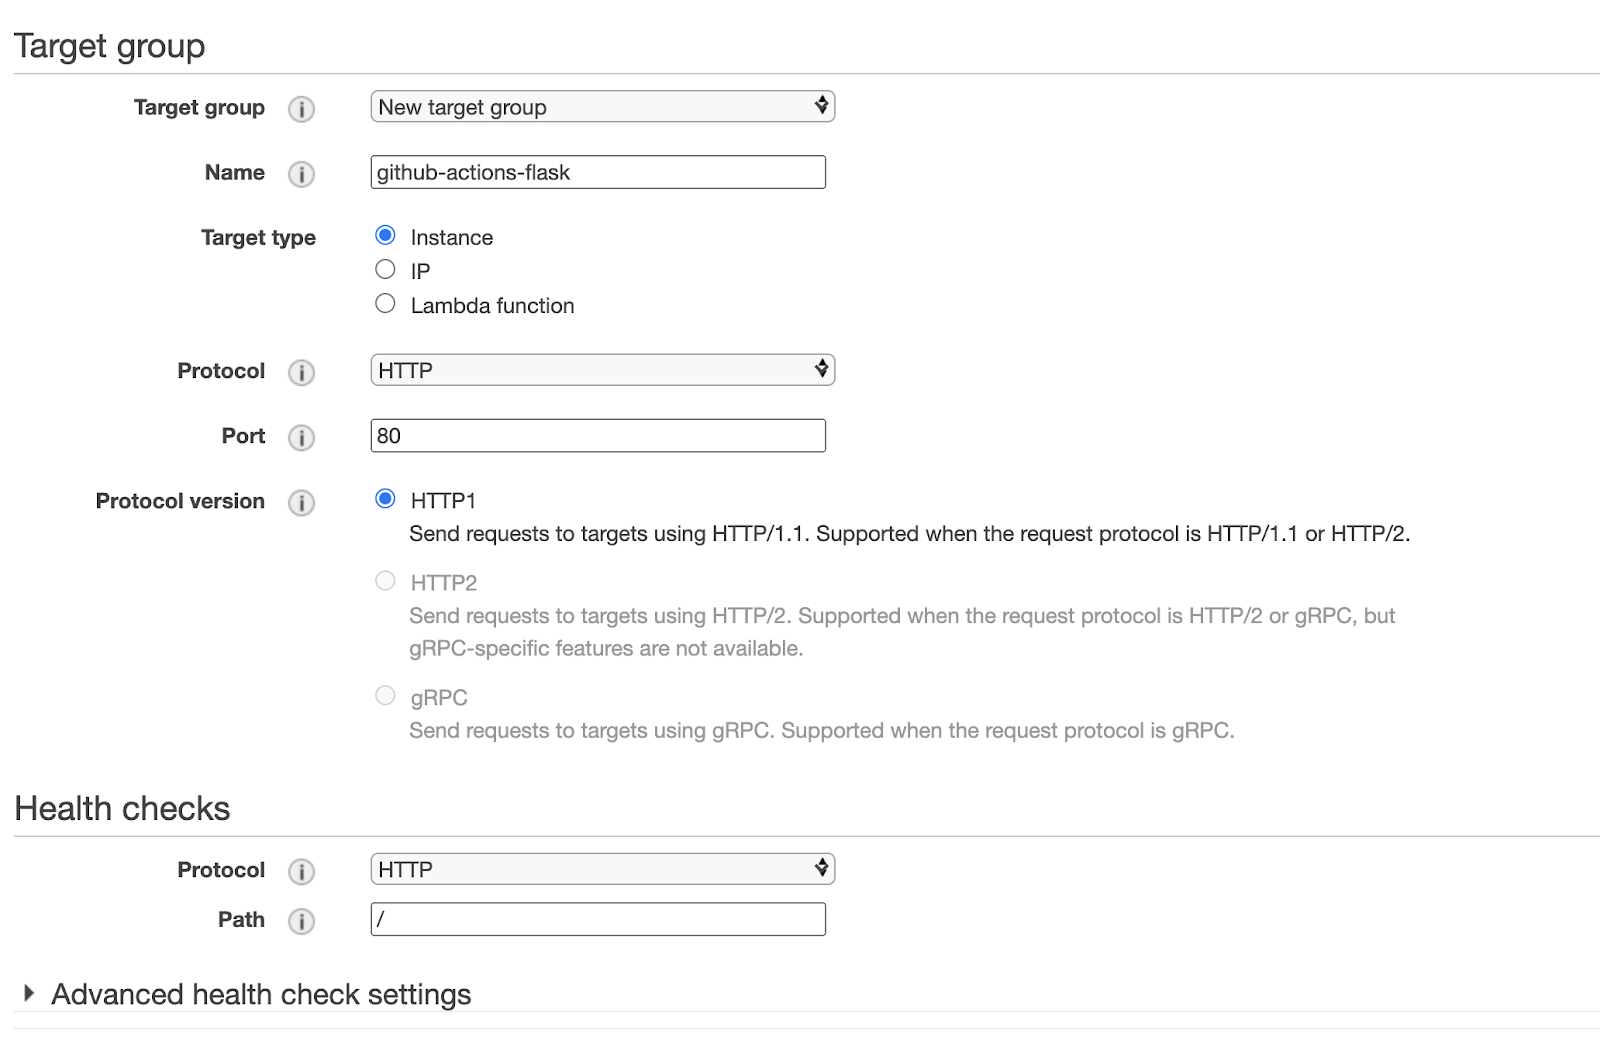
- When creating the container definition for your ECS cluster, add a health check command so that the cluster will know if the container is healthy. In this case, `curl -f http://localhost/ ` is enough for that.
## And...that’s it!
If you visit the endpoint for your load balancer, you should see the message `hello world` in the browser. If you push a change to the repository, it should pick up the changes just like it did in the second blog post of this series[^first].
## Conclusion
This blog post series has covered a lot of concepts related to CI/CD pipelines. Now, after this final post, you should be able to set up a Python Flask project--with tests and linting--that is deployed to ECS and automatically updated via CodePipeline in AWS.
Congratulations, you now have a fully automated and functional DevOps pipeline!
---
<center>
<img src="https://monadical.com/static/logo-black.png" style="height: 80px"/><br/>
Monadical.com | Full-Stack Consultancy
*We build software that outlasts us*
</center>
[^first]: In case your container is not running on ECS, you may need to review the Dockerfile and the entrypoint. For the current example, we’re using an image based on https://hub.docker.com/r/tiangolo/uwsgi-nginx/dockerfile, so you can check how the services are started there for reference.


Published on 2020-12-15
Recent posts:
- The Essential Guide to Ray.io’s Anatomy
- Reflector: Elevate Communication with Our Real-Time Translation Tool
- Building a Ticketing System with Solana Mobile and Metaplex Foundation Umi
- Kraken the Code: How to Build a Talking Avatar
- View more posts...
Back to top